What a Solar Generator and a Battery Bank Both Are
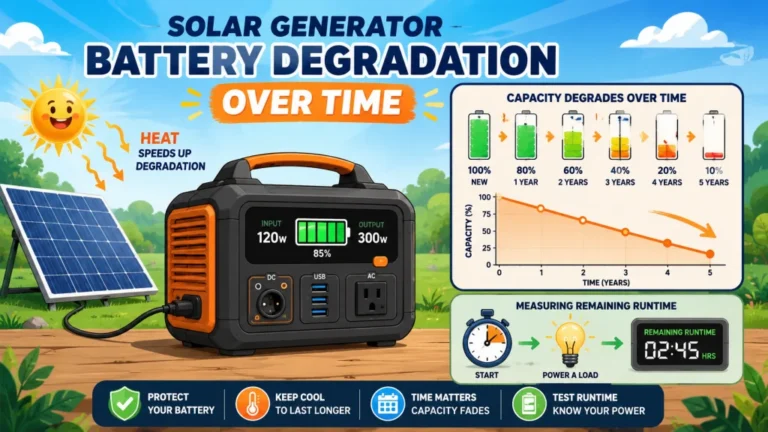
The solar generator vs battery bank comparison starts with an important clarification: these are not fundamentally different categories of product. Both store energy in a lithium battery. Both use an inverter to convert that stored DC power into the 120V AC your outlets need. Both can be recharged from solar panels and wall power when configured correctly. A solar generator usually supports 12V vehicle charging out of the box, while a DIY battery bank needs the right DC charging setup to do the same safely. The distinction between them is packaging and integration, not the underlying technology.
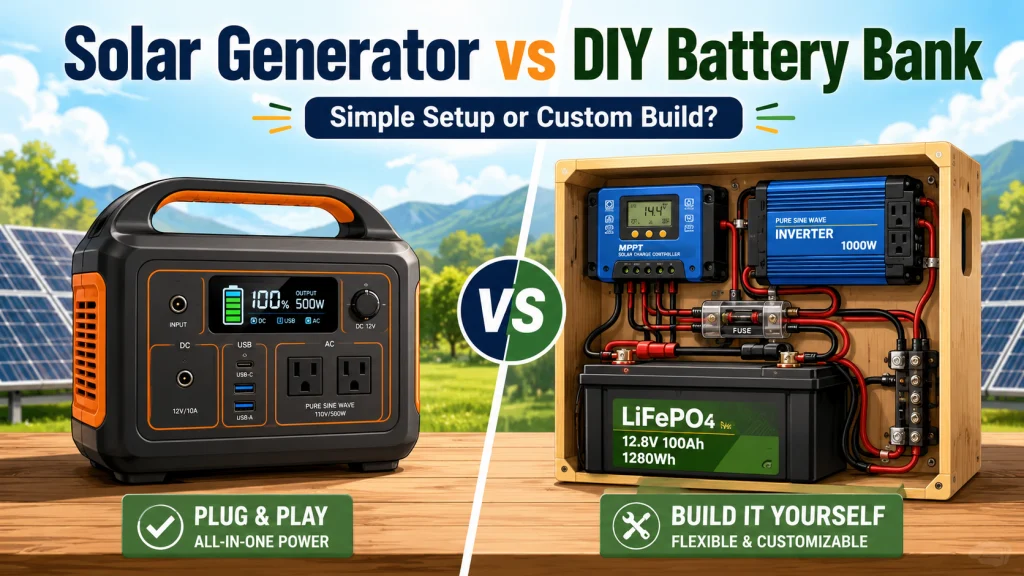
In most quality modern solar generators, the factory-assembled enclosure includes four core components pre-wired together: a lithium battery pack, usually LiFePO4 in current higher-quality models, a battery management system, a charge controller for solar input, and an inverter for AC output. You take it out of the box, connect panels or plug into the wall, and it runs. No configuration. No wiring. A DIY battery bank uses the same four components purchased separately and connected by you. You supply the wiring, the fusing, the enclosure, and the knowledge to make it work safely. The result is functionally the same device, built two different ways.
What a DIY Battery Bank Build Actually Involves
Before the cost comparison means anything, it helps to be specific about what the project requires. A functional portable battery bank needs a LiFePO4 drop-in battery module, an MPPT charge controller for solar input, a pure sine wave inverter for AC output, properly rated fusing and wiring between each component, and some form of enclosure to keep everything organized and safe. Each component arrives from a separate manufacturer, unconfigured. You set the charge parameters on the controller, wire the battery to the controller and inverter with correctly sized conductors, fuse each connection, and test the system before you rely on it for anything important.
The electrical work is not advanced by professional standards, but it does require understanding DC wiring basics: correct wire gauge for the current involved, fuse sizing at each connection, and polarity. Getting it wrong does not just mean the system fails to work. An incorrectly fused DC system at battery voltages can cause a fire. Most people who build these setups successfully have spent a few hours reading about DC wiring before touching a wire. The active DIY solar community online is genuinely helpful here, especially for checking fuse sizing, inverter compatibility, controller voltage range, and component layout before you commit to a purchase. That resource exists and it matters.
Field Note: At the shop, I ran into buyers over the years who had started a DIY build, gotten partway through, and then came in to buy a solar generator instead. Not because the build was beyond them. Just because assembling, configuring, and testing three separate components from three different manufacturers takes a full weekend, and they needed power before that weekend arrived. If your timeline is flexible, DIY is legitimate. If you need it working by Friday, it probably is not.
There is also the question of portability. Most DIY builds end up in a plywood or plastic enclosure that is functional but not compact. All-in-one solar generators are engineered for portability, with handles, rounded corners, and weight distribution designed for carrying. If you are moving the unit around regularly, that integration is worth something.

The Renogy Rover delivers 99.9% multi-peak MPPT efficiency across shaded and cloudy conditions, automatically detecting 12V or 24V systems and supporting gel, sealed, flooded, and lithium battery types including LiFePO4. Its 4-stage charging process includes an exclusive lithium battery recovery function capable of reviving deeply discharged cells, while TVS protection blocks lightning surges up to 6kV and guards against reverse polarity and overloading in temperatures from negative 40 to 149 degrees Fahrenheit. A backlit LCD tracks real-time voltage, current, and errors, with 365-day data logging and Modbus protocol support for smart home and remote monitoring. DC load output with timer scheduling is built in, and optional Bluetooth modules enable live app-based performance alerts.
Check On AmazonIf you click this link and buy, we earn a commission at no additional cost to you.
The Cost Comparison With Real Numbers
The cost difference is real, and it gets more significant as capacity increases. A 2,000Wh DIY build using a drop-in LiFePO4 battery module, a mid-range MPPT charge controller, and a 2,000W pure sine wave inverter runs roughly $600 to $900 in components at typical current pricing. A comparable all-in-one solar generator with similar capacity and AC output retails at $1,000 to $1,500. On a per-watt-hour basis, DIY comes in at roughly $0.30 to $0.45 versus $0.50 to $0.75 for all-in-one units.
That gap widens as you scale up. A 4,000Wh DIY build means adding one more battery module, and the cost advantage compounds from there. A 4,000Wh all-in-one solar generator, if you can find one at that exact capacity, typically costs $2,500 to $3,500 or more. The same capacity in separate components often lands under $1,500. If you want serious off-grid capacity on a tight budget, that math is hard to argue with.
| Factor | DIY Battery Bank | All-in-One Solar Generator |
|---|---|---|
| Cost at 2,000Wh | $600 to $900 | $1,000 to $1,500 |
| Cost per Wh (approx.) | $0.30 to $0.45 | $0.50 to $0.75 |
| Setup time | Several hours to a full day | 15 to 30 minutes |
| Electrical knowledge required | Yes, DC wiring basics | None |
| Whole-unit warranty | No (per-component only) | Yes, typically 2 to 5 years |
| Repairability after warranty | Replace individual components | Often full unit replacement |
| UPS / pass-through charging | Requires extra configuration | Built-in on most quality units |
| Expandability | Add battery modules as needed | Limited to manufacturer options |
| Certified for apartment/rental use | No | Yes |
These figures are based on recent component pricing and typical retail pricing for all-in-one units in the 1,500Wh to 2,500Wh range. Treat this as a comparison framework rather than a precise shopping estimate, since component prices shift and solar generator pricing changes with sales and model cycles.

Starting at 2kWh and expandable up to 8,448Wh with compatible expansion batteries, this LiFePO4 station delivers 2,400W across 11 ports including a 30A TT-30 RV port, dual 100W USB-C, and a dedicated 48V RV charging port. It reaches 80% in just 60 minutes via AC input and fully charges in under 4 hours with 1,200W of solar. The battery is rated for 3,000 plus cycles across a 10-year lifespan.
Check On AmazonIf you click this link and buy, we earn a commission at no additional cost to you.
Where Each Approach Has a Clear Advantage
This is not a situation where one option dominates. The right choice comes down to a few specific factors about how you plan to build, use, and maintain the system over time. Going through this list honestly usually points to an answer without much debate.
A DIY battery bank has a real advantage when:
- You want 3,000Wh or more on a budget. At higher capacities, the cost-per-watt-hour gap becomes large enough to justify the build time and effort. A 4,000Wh DIY setup for under $1,500 versus a $3,000 all-in-one is a meaningful difference for most buyers.
- You are comfortable with basic DC wiring and have a weekend to spare. If you have completed any basic electrical project before, the knowledge required is accessible. It is not advanced work, just deliberate work.
- Repairability matters to you long-term. When an inverter fails in year four or five, replacing one $80 to $200 component is a very different outcome than replacing the entire unit.
- You want to expand capacity over time. Starting with 2,000Wh and adding another battery module a year later is straightforward with a DIY setup in a way it is not with most all-in-one units.
An all-in-one solar generator makes more sense when:
- You need it working this weekend. The setup from box to first use is 15 to 30 minutes with no prior knowledge required. There is no configuration, no compatibility research, no testing phase.
- You are in an apartment, rental, or managed building. All-in-one units usually carry standard consumer safety certifications. A certified solar generator sitting in a closet is usually easier to explain to a landlord, HOA, or building manager than a DIY battery box with custom wiring.
- UPS-style pass-through charging matters to your use case. Running a CPAP machine or network equipment on continuous power while the unit simultaneously charges from the wall requires built-in pass-through circuitry, which most quality all-in-one units include by default. Adding this to a DIY build is possible but requires additional components and configuration that most buyers do not anticipate upfront.
- You are buying this primarily for outage backup, meaning it sits unused 95 percent of the time and runs when the power goes out. For low-cycle emergency backup, the simplicity and warranty support of an all-in-one is worth paying for.
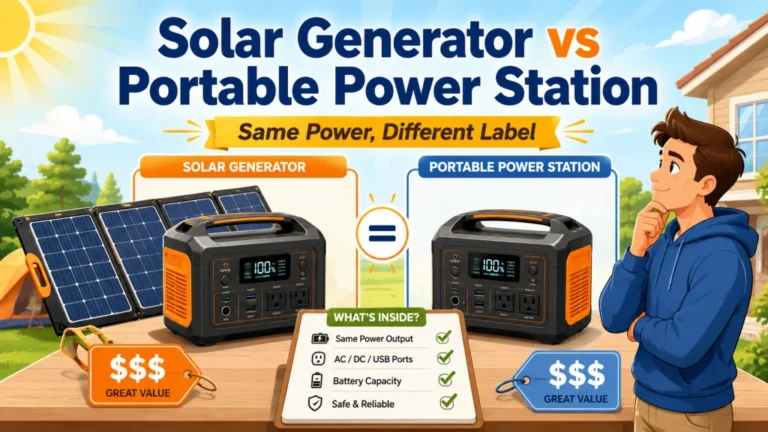
The all-in-one vs DIY decision is one specific angle within the larger question of how solar generators compare to other portable power options. If you are still deciding which category of product fits your situation, the full comparison of solar generators versus portable power stations breaks down the all-in-one landscape in more detail, including where portable power stations and solar generators are actually the same product under two different names and where they genuinely diverge.
The Long-Term Repair Reality
Most buyers do not think about this until they are past the warranty period, but it is worth thinking about now. Inverters fail. Battery management systems occasionally malfunction. Charge controllers develop issues after years of operation. What happens next depends entirely on which approach you went with.
In a DIY build, a failed inverter is an $80 to $200 replacement part. You disconnect the old one, wire in the new one, and the rest of your system keeps working. The LiFePO4 battery cells are typically the longest-lived component and the most expensive. Treat them right and they may outlast two or three inverters over the life of the build.
In an all-in-one solar generator, a failed inverter after the warranty period usually means replacing the whole unit. Manufacturers do not typically sell replacement inverter boards as consumer parts. Third-party repair exists in some markets, but availability varies significantly depending on where you live and which brand you bought. The integrated design that makes solar generators easy to use is also what makes them expensive to repair once the warranty is gone.
This is not a dealbreaker for the all-in-one option. A quality lithium battery unit used as emergency backup can run through its warranty period and often well beyond without component failure. But for daily off-grid users and frequent campers cycling the unit regularly, the long-term repair math deserves a look before you commit. If you want context on how chemistry, sizing, and long-term value decisions connect across the full range of solar generator choices, the complete solar generator guide covers all of it in one place.

This pure sine wave inverter converts 12V DC to 120V AC at 2,000W continuous and 4,000W peak surge with over 90% conversion efficiency, producing grid-quality power safe for TVs, laptops, freezers, and other sensitive electronics without buzzing or interference. Built-in protections cover under and over voltage, overtemperature, overload, short circuit, and GFCI, with LED indicators for at-a-glance status monitoring. Connectivity includes 3 AC outlets, 1 AC terminal block, and a 5V USB port, while the package adds two 1/0 AWG 3-foot cables and a 16.4-foot wired remote for flexible placement. UL 458 and CSA C22.2 certified with a durable metal housing and high-speed cooling fans for long-term reliability.
Check On AmazonIf you click this link and buy, we earn a commission at no additional cost to you.
Final Thoughts: Which Approach Actually Fits Your Situation
My honest take, based on having sold a lot of all-in-one units and followed enough DIY solar forum build threads over the years: if you want 3,000Wh or more and are willing to spend a day learning and assembling, a DIY build gives you significantly more capacity for the same money. The savings are real. The components are reliable when assembled correctly. The active community around DIY solar builds means you are not doing the research alone.
If you want something that works the moment you unbox it, has a single warranty contact, and does not require you to think about wire gauge or fuse ratings, buy a quality all-in-one. For most buyers using portable power as backup during outages or on weekend camping trips, that simplicity is worth paying a premium for. The per-watt-hour difference is real, but so is the time and knowledge required to close that gap yourself.
Neither approach is wrong. They just serve different buyers. The one that fits is the one that matches how you actually plan to spend your time, not the one with the lower number on the spec sheet.

At 39.5 lbs with 2,042Wh capacity and 2,200W output, this CTB-built station is 41% lighter and 34% smaller than typical 2kWh units. It charges from 0 to 80% in just 66 minutes via AC, operates at under 30 dB in silent mode, and switches to UPS backup in under 20 milliseconds. The LiFePO4 battery is rated for a full 10-year lifespan.
Check On AmazonIf you click this link and buy, we earn a commission at no additional cost to you.
FAQs
🔋 Is a solar generator just a battery bank with an inverter?
Essentially yes. A solar generator contains a lithium battery, a battery management system, a charge controller for solar input, and a built-in inverter, all pre-assembled in one enclosure. The term “solar generator” is a marketing label, not a distinct technology category separate from battery-based energy storage.
💸 Is it cheaper to build a DIY battery bank than to buy a solar generator?
In most cases, yes. At 2,000Wh, a DIY build typically runs $600 to $900 in components versus $1,000 to $1,500 for a comparable all-in-one. The gap increases at higher capacities. You are paying for assembly, integration, certification, and warranty support when you buy an all-in-one.
🔧 Can I repair a DIY battery bank myself when something fails?
Yes, and this is one of its main practical advantages. Each component can be replaced individually. A failed inverter is an $80 to $200 replacement. With an all-in-one solar generator, a failed component after the warranty period often means replacing the entire unit rather than just the part that stopped working.
🏠 Can I use a DIY battery bank in an apartment or rental unit?
It depends on your landlord or building rules. DIY builds do not carry standard consumer safety certifications as a complete finished product. All-in-one solar generators are certified products with standard safety listings, which makes them easier to use in rental situations. A DIY enclosure is usually a harder conversation with building management.
⚡ What electrical skills do I actually need to build a battery bank?
Basic DC wiring knowledge is required: wire gauge selection for the current load, correct fuse sizing at each connection point, and polarity. It is not advanced work, but it is not zero-knowledge either. Plan on a few hours of reading about DC systems before you start wiring anything.
🌞 Does a DIY battery bank charge from solar panels the same way a solar generator does?
Yes. An MPPT charge controller handles the solar input on the DIY side the same way the built-in charge controller does inside an all-in-one unit. You connect your panels to the controller, which regulates charging into the battery. The process is identical, just with separate components rather than one integrated enclosure.
🔌 Can a DIY battery bank do pass-through charging like a solar generator?
It can, but it requires additional configuration that most basic DIY builds do not include by default. All-in-one solar generators have built-in UPS circuitry that handles this automatically. If uninterrupted power for a CPAP or network equipment is important to your use case, factor that into the build plan upfront.