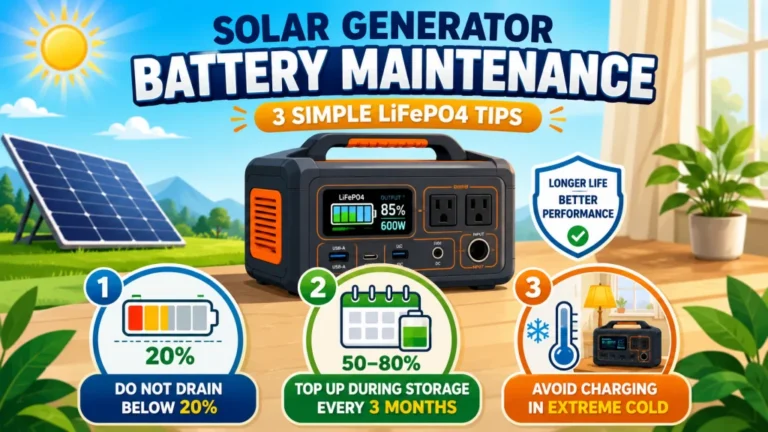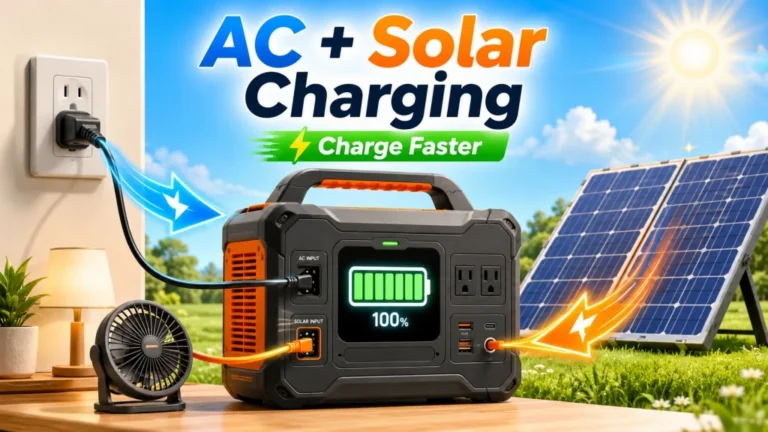
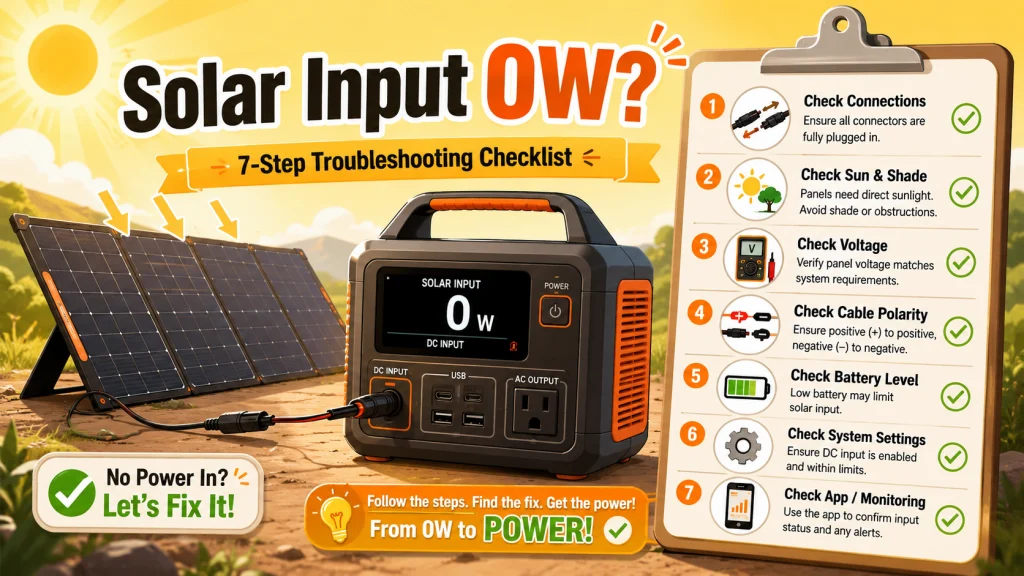
Your Panel Is Connected. The Sun Is Out. Your Unit Reads Zero.
That combination looks like something is seriously wrong. In practice, it almost never is. What I have found, from selling and servicing these units and running my own off-grid setup through every season, is that 0W solar input almost always falls into one of five categories: a port that was not activated, a connector that did not seat properly, a panel placement problem, a voltage or polarity mismatch, or a battery that is already near full and automatically throttling the charge. Every one of those is fixable without tools in most cases. None of them require a warranty call to diagnose.
The reason it feels serious is that there is no obvious feedback. The cable looks fine. The panel looks fine. The sun is clearly there. But the unit reads zero and gives you nothing to work from. Understanding how solar charging fits into the larger picture of operating these units correctly helps here. If you are newer to ownership, the guide on how to use a solar generator from first charge through long-term ownership is worth reading alongside this checklist. For the immediate problem, work through the seven steps below in order, starting from the top.

Built with IBC cells at 25% conversion efficiency, this bifacial panel absorbs sunlight from both sides and bends up to 221 degrees to conform to curved surfaces like car roofs and balconies. At just 4.52 lbs it is 56% lighter than rigid panels, and IP68 waterproofing plus IEC TS 63163 certification across 19 international tests ensure reliable output from -40 to 85 degrees Celsius. A 3-meter flat cable enables flexible installation in under 5 minutes.
Check On AmazonIf you click this link and buy, we earn a commission at no additional cost to you.
Steps 1 Through 3: The Checks That Cost Nothing
If your solar generator is not charging from solar, start here. These three steps require no tools, no multimeter, no app. They are the quickest to rule out and statistically the most likely to be the actual problem. Do not skip them because they seem too basic.
Field Note: The most common support call I dealt with at the shop about solar not charging was resolved in under a minute: the DC input port was simply not activated. The customer had connected the panel correctly, positioned it in full sun, and double-checked the cable. The unit still read zero because one button had not been pressed. I stopped being surprised by this after the twentieth time it happened.
Step 1: Is the DC Input Port Actually Active?
Some solar generators require the DC input mode or a specific switch to be active before they register solar input at all. On many units there is a dedicated DC input button, or the DC output switch needs to be on for the input to register. Plugging in the panel is not always enough on its own. Check the unit’s display or button panel and confirm the DC input indicator is lit before assuming anything is wrong.
This sounds like an impossible mistake to make, but it happens constantly. The port looks like it should accept power passively, the way a wall outlet works. It does not. On units that require this activation step, the charge controller may not register the panel until the input mode is active. Press the button, wait ten seconds, and check the input reading before doing anything else.
Step 2: Are the Connectors Actually Seated?
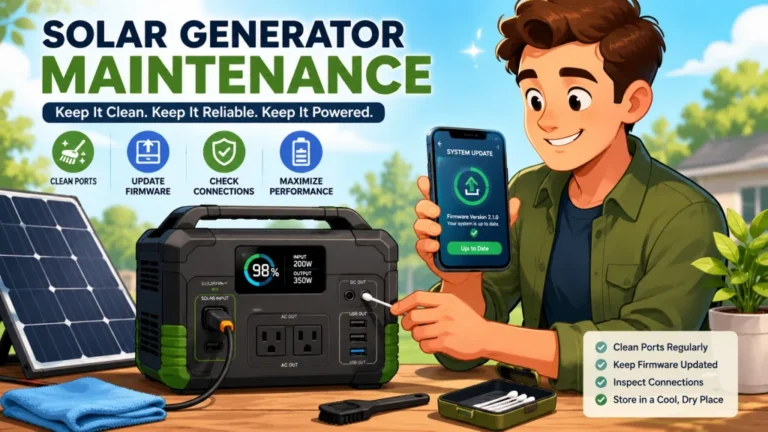
MC4 connectors require a firm push until you feel and hear a click. A connector that looks connected but has not latched produces zero electrical contact, and it is not always obvious from looking at it. Disconnect both MC4 connectors at the panel end, inspect the metal pins, and reconnect them with enough force to feel the latch engage. Do the same at the unit end, whether that connection is an XT60i, an 8mm barrel, or a DC5525 plug.
If you are using a third-party adapter cable between the panel and the unit, pay extra attention here. These cables have two connection points instead of one, and either end can be partially seated without looking wrong. Check both ends of the adapter, not just the MC4 side. A half-seated XT60i connector at the unit end gives the same 0W reading as a disconnected panel, and it is easy to miss on a quick visual check.
Pro Tip: If your cable has been coiled and stored between uses, inspect the MC4 connector pins for any debris or surface oxidation. Even light corrosion on the contacts can interrupt a charge under real-world conditions. A dry cotton swab is enough to clean the pins before reconnecting.
Step 3: Is the Panel in Direct, Unobstructed Sun?
Partial shade has a disproportionate effect on panel output. A shadow crossing even one corner of a portable panel can reduce its output by 20 to 50 percent depending on how the bypass diodes are arranged inside that panel. A shadow that covers a single full cell in a string can drag the entire panel’s output down to near zero, even when the rest of the panel surface looks fine. Check for any shadow source: a roof edge, a fence line, a tree branch, a nearby vehicle, or a power line overhead.
Orientation matters as well. A panel facing east in the afternoon may produce very little useful input. A panel lying flat on the ground loses roughly 20 to 30 percent of potential output compared to one tilted at 30 to 45 degrees toward the sun. Point the panel south and tilt it up. If you want to confirm whether the panel itself is producing voltage before connecting it to the unit, that is what Step 4 covers.

This 10-foot, 12AWG copper cable splits from a single MC4 connector into four branch plugs covering XT60, Anderson, DC7909, and DC8020, making it compatible with most major portable power stations on the market. IP68-rated MC4 plugs handle up to 28A with minimal power loss, and thick PVC insulation resists UV, heat, and corrosion. Backed by a 24-month warranty from a US-based company.
Check On AmazonIf you click this link and buy, we earn a commission at no additional cost to you.
Steps 4 Through 6: When the Simple Checks Come Up Empty
If the port is active, the connectors are clicked in, the panel is in full direct sun with no shade, and you still have 0W, the cause is in one of three less obvious areas. Two of these steps use a multimeter. If you do not have one, an inexpensive basic multimeter is worth having for this kind of troubleshooting and will be useful beyond just this diagnostic.
| Step | What You Are Checking | Tool Needed |
|---|---|---|
| 1 | DC input port is activated on the unit | None |
| 2 | MC4 connectors and adapter ends fully seated | None |
| 3 | Panel in direct sun, no partial shade, correct orientation | None |
| 4 | Panel open-circuit voltage is within the unit’s accepted range | Multimeter |
| 5 | Adapter cable polarity is not reversed | Multimeter |
| 6 | Battery is not already near full charge | None |
| 7 | Companion app charging speed setting is not throttled | Companion app |
Step 4: Is the Panel Voltage Within Your Unit’s Accepted Range?
Every solar generator has a maximum solar input voltage listed in its specifications, typically somewhere between 30V and 150V open-circuit depending on the unit class. A panel or panel string that produces voltage above this limit will be rejected by the MPPT charge controller automatically. The unit reads 0W not because it cannot see the panel, but because it is intentionally refusing to accept the charge.
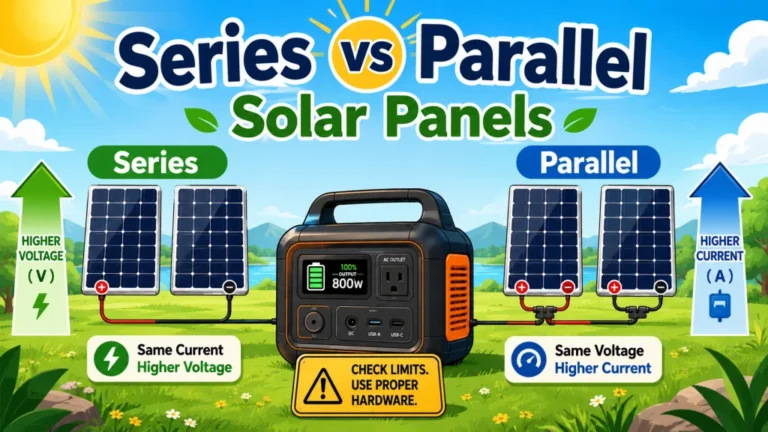
To check: set your multimeter to DC voltage, touch the red probe to the positive-marked lead and the black probe to the negative-marked lead, with the panel in the sun but not yet connected to the unit. The reading is the panel’s open-circuit voltage. Compare that number to your unit’s maximum input voltage in the manual or spec sheet. A single 100W portable panel typically reads 20 to 24V open-circuit, which is within range for almost any unit. The voltage mismatch problem is more common when owners connect two panels in series, which can double the voltage and push it over the unit’s ceiling. If the reading is within spec, the panel is producing usable voltage and the issue is elsewhere.
Step 5: Is the Cable Polarity Correct?
Third-party adapter cables, particularly MC4-to-XT60i or MC4-to-DC5525 adapters, are occasionally manufactured with the positive and negative leads wired in reverse. This causes the unit to read 0W and sometimes triggers an error code. You cannot identify a reversed-polarity cable by looking at it. The connectors will look identical to a correctly wired cable and will physically fit the same way.
With the multimeter still in hand, set it to DC voltage. Touch the red probe to the terminal labeled positive at the unit-end connector and the black probe to the negative terminal. If the reading is positive, the polarity is correct. If the reading is negative, the cable is wired in reverse and should not be used. A reversed-polarity cable that is reconnected repeatedly can stress the charge controller over time. If the cable fails this test, do not continue troubleshooting with it. Replace it with a correctly wired adapter that matches your unit’s input port and published voltage and current limits before connecting again.
Warning: Do not continue connecting a reversed-polarity cable to the unit while troubleshooting. The BMS provides some protection, but it is not designed to handle sustained reverse polarity. Once you confirm a cable is reversed, set it aside.
Step 6: Is the Battery Already Near Full?
The charge controller inside your unit is designed to taper and eventually stop solar input as the battery approaches full charge. This is intentional behavior to protect the battery from sustained high-voltage stress. At around 90 to 95 percent state of charge, charging visibly slows. At 98 to 100 percent, it may show 0W input even with the panel in direct sun, because the battery genuinely does not need more charge at that moment.
To test for this: discharge the battery to 60 to 80 percent by running a load for a while, then reconnect the panel and check the input reading. If charging resumes normally, the battery was already full and the unit was operating exactly as designed. I have seen this one trip up owners who charged the unit overnight on AC, then went outside the next morning, connected the panel, and called the panel defective. The unit was fine. The battery was full. The charge controller was doing its job.
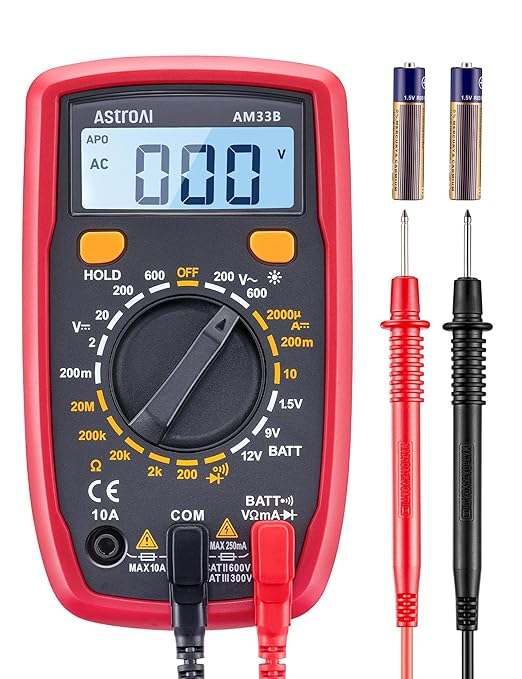
This multimeter measures AC and DC voltage, DC current, resistance, and diode, making it a capable tool for household outlets, fuses, automotive circuits, and charging systems. Dedicated 1.5V, 9V, and 12V battery test modes automatically detect and display battery status across a wide range of battery types. A double fuse protects against overload, and the silicone protective cover guards against drops and electric shock. Practical features include data hold, auto shutoff, a continuity buzzer, and a backlit LCD for use in low-light conditions. Note: this meter does not test AC current.
Check On AmazonIf you click this link and buy, we earn a commission at no additional cost to you.
Step 7: Check the Charging Speed Setting in the Companion App
Some solar generators come with a companion app that lets you control charging speed, output settings, and operating modes. What most owners do not realize is that the app’s charging speed slider can limit the overall charge rate, and in some implementations it affects solar input as well as wall input. If the slider was accidentally moved to a low setting at some point, or if a quiet or silent charging mode was enabled, the unit may be capping its own input to a fraction of its rated capacity.
Open the app while the unit is powered on and navigate to charging settings or device configuration. Look for any charging speed, charging rate, or power limit setting. Set it to the maximum value and reconnect the panel. This is the least common cause of 0W input, but it is the one that wastes the most diagnostic time because there is nothing physically wrong with the panel, the cable, or the unit. The problem is invisible until you look in the app.
If all seven steps have come up clean and you still have 0W from a panel that produces voltage on a multimeter, the broader solar generator troubleshooting guide covers symptoms beyond solar charging failure, including output problems and error code diagnosis, which may help narrow down whether the issue has moved into warranty territory.

Weighing just 23.8 lbs with a foldable handle, this 1,070Wh LFP power station delivers 1,500W of pure sine wave AC output with a 3,000W surge capacity, capable of running AC units, fridges, and electric pots. Its LFP battery sustains over 70% capacity after 4,000 cycles, translating to a lifespan of more than 10 years. Via the Jackery App, you can enable a full charge in as little as one hour, or switch to a whisper-quiet 30 dB overnight mode. Six output ports including two USB-C with 100W PD charging cover nearly any device simultaneously.
Check On AmazonIf you click this link and buy, we earn a commission at no additional cost to you.
Final Thoughts: When Seven Steps Are Not Enough
Before going to warranty support, run one quick isolation sequence. Power the unit completely off. Disconnect the solar input cable. Wait 30 seconds, then reconnect the panel in direct sun and power the unit back on from a cold start. On some units, a brief power cycle resets a temporary lockout state that persists through normal troubleshooting and would not show as an error code. This takes two minutes and occasionally resolves a 0W reading that held through every prior step.
If you have access to a second compatible panel or the unit’s original factory cable, test with it now. A cracked panel cell, a broken internal wire, or a bent center pin can pass a quick visual check and still produce a consistent 0W reading. Swap the panel or cable if you have an alternative. If the reading changes, the original cable or panel is the fault and you have your answer without a warranty call. If nothing changes after the power cycle and the component swap, you are genuinely in warranty territory.
If you have worked through every step and the unit still reads 0W from a panel that shows usable voltage on the multimeter, the most likely explanation is a failed MPPT charge controller. This is the component inside the unit that takes the panel’s variable DC output and converts it into stable charging current for the battery. When it fails, solar input drops to zero regardless of panel condition, cable integrity, or battery state of charge. It is not something an owner can repair or replace.
At that point, the right move is to document what you found and contact warranty service. A support team moves faster when you come in with test data rather than a description of the symptom. Write down what each step showed before you make the call.
- DC input port was active during the test
- All MC4 connectors and adapter ends were fully seated and clicked in
- Panel was in direct sun with no shading, tilted toward the sun
- Panel open-circuit voltage was within the unit’s specified maximum input voltage
- Cable polarity was confirmed correct with a multimeter
- Battery was at 60 to 80 percent state of charge during the test, not near full
- App charging speed was set to maximum rated value
That list, attached to a warranty contact, is exactly what the support team needs to escalate. A failed MPPT controller under warranty should be repaired or replaced. Going in with confirmed, documented test results rather than “it just stopped working” makes that conversation go significantly faster in my experience.

At 39.5 lbs with 2,042Wh capacity and 2,200W output, this CTB-built station is 41% lighter and 34% smaller than typical 2kWh units. It charges from 0 to 80% in just 66 minutes via AC, operates at under 30 dB in silent mode, and switches to UPS backup in under 20 milliseconds. The LiFePO4 battery is rated for a full 10-year lifespan.
Check On AmazonIf you click this link and buy, we earn a commission at no additional cost to you.
FAQs
☀️ Why does my solar generator show 0W even when the panel is in the sun?
The most common causes are a DC input port that was not activated, an MC4 connector that did not fully click into place, or a battery that is already near full and tapering the charge to zero automatically. Work through the 7-step checklist from the top before concluding the panel or unit is defective.
🔋 Why does solar charging slow down or stop when my battery is almost full?
The MPPT charge controller inside the unit deliberately reduces and eventually stops solar input as the battery approaches 100 percent. This protects the battery from sustained high-voltage stress. At 90 to 95 percent it slows noticeably, and at 98 to 100 percent it may read 0W even with the panel producing full power. Discharge to 60 to 80 percent and reconnect the panel to confirm this is the cause.
⚡ Can a reversed-polarity adapter cable damage my solar generator?
Repeated connections with a reversed-polarity cable can stress or damage the MPPT charge controller over time. The battery management system provides some short-term protection, but it is not designed to handle sustained reverse polarity. If a multimeter shows a negative reading at the unit-end connector, stop using that cable immediately and replace it before connecting again.
🌥️ Why does a single shadow on part of my panel kill the whole charge?
Solar cells in a panel are wired in series strings. A shadow on one cell increases that cell’s resistance, which can reduce the output of the entire string even if the rest of the panel is in full sun. The effect depends on the panel’s bypass diode design, but a shadow covering even a small section can cut overall output by 20 to 50 percent. Move the panel to a fully clear area and recheck.
📐 What is open-circuit voltage and why does it matter for solar charging?
Open-circuit voltage (Voc) is the voltage a panel produces when it is in the sun but not connected to a load. It is always higher than the panel’s operating voltage under actual charging conditions. When you measure panel voltage with a multimeter before connecting it to the unit, you are measuring Voc. This number must fall below your unit’s maximum input voltage specification, or the unit’s charging system may reject the input entirely.
🛠️ When should I stop troubleshooting and contact warranty support?
If you have completed all seven steps, confirmed the panel produces voltage on a multimeter, verified the cable polarity is correct, confirmed the battery was at 60 to 80 percent during the test, and the unit still reads 0W, the MPPT charge controller may have failed. Document your test results and contact the manufacturer’s warranty service. This is not an owner-fixable repair.